
 English
 Deutsch
 Español
 Français
Here You Can Get Our Latest Information
Industry News
How to Plumb a Garden Shower: 2 Proven Ways (No-Plumb Solar Option Included)
What Does "Plumbing" a Garden Shower Really Mean?
You just took delivery of a garden shower for the pool or the backyard. The box is open, the parts are laid out, and then the practical question arrives: how do you plumb a garden shower? If your mental picture involves trenching, copper fittings, and a call to the building inspector, you can relax. Plumbing a garden shower does not have to involve any of that.
The honest answer is that you have two very different paths. The first is a traditional hard-pipe connection to your home's water supply, which gives you permanent hot and cold water at an outdoor fixture. The second is a no-plumb solar shower — a self-contained unit with an integrated tank that heats water with sunlight and connects to a standard garden hose. One path is a small construction project. The other takes about fifteen minutes.
Whichever route you pick, the basic anatomy is the same: a water source, a control valve, a supply line, a showerhead, and somewhere for the runoff to go. The difference is how water reaches the showerhead and what that costs in time, money, and code compliance.
Think of the traditional route as adding a bathroom fixture outdoors — permanent, reliable, tied into your home's systems. The solar route is closer to a self-heating rain barrel: fill it from a hose, let the sun do the work, and enjoy a warm shower without a pipe wrench.
Traditional Plumbing: What It Involves (and What It Costs)
A hard-piped garden shower is the right approach when you need on-demand hot water and true year-round use. It is also the most expensive and labor-intensive option, and the one most likely to require a professional. Between permits, pipe, fittings, and labor, a basic installation can cost several hundred dollars or more, and the job usually takes a full weekend.
The process is straightforward, but the steps need to happen in order.
The Hard-Pipe Process, Step by Step
- Shut off the main water supply and drain the lines by opening the lowest faucet in the house.
- Install a tee fitting into an existing cold water line near the exterior wall. Add a second tee on the hot water line if you want mixed temperature control.
- Run the supply pipe from the house to the shower location. For a buried line, dig the trench 18 to 24 inches deep so it stays below the frost line.
- Install a shutoff valve, then a riser pipe up to the shower valve and showerhead. Keep the valve accessible so you can drain the system in winter.
- Slope the horizontal pipe at least 1/4 inch per foot so it drains completely, test every joint for leaks, then backfill the trench.
Budget for the basics: PEX tubing runs about $0.40 to $4 per foot, copper and CPVC cost more, and a permit adds $50 to $300 in most municipalities. If you hire a plumber, labor usually exceeds materials. Call a plumber for soldering copper, cutting into the main supply line, or excavating below the frost line — that is where DIY mistakes get expensive.
Drainage and Code Considerations You Can't Skip
The water coming off a garden shower has to go somewhere, and it should not sit at the base of the unit. The most common solutions are a French drain, a gravel pit, or a connection to an existing drain. Never route soapy shower water into a storm drain; many municipalities treat that as a code violation.
- Slope: the shower pad and surrounding ground should fall away at about 1/4 inch per foot so water does not pool.
- Setback: many US codes require outdoor fixtures at least 5 feet from property lines.
- Permits: a hard-pipe connection to your household supply almost always requires a permit and inspection.
- Freeze protection: install a drain-down valve, and keep buried lines below the frost line.
The No-Plumb Alternative: Solar Garden Showers
If you want hot water without any pipe work, the simplest answer is that you don't plumb it at all. A solar garden shower is a complete column with an integrated tank. Set it in place, connect a hose, and let the sun heat the water. No fittings to solder, no trenches to dig, no permit to pull.
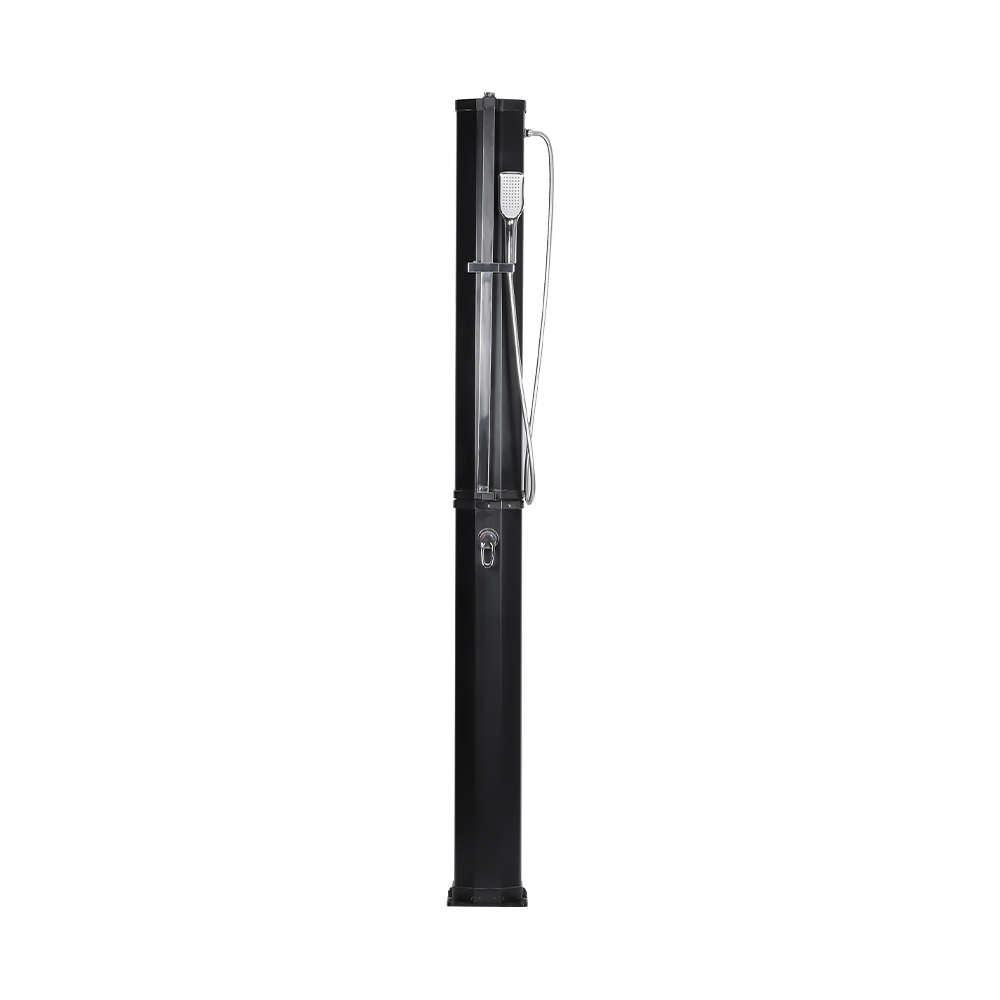
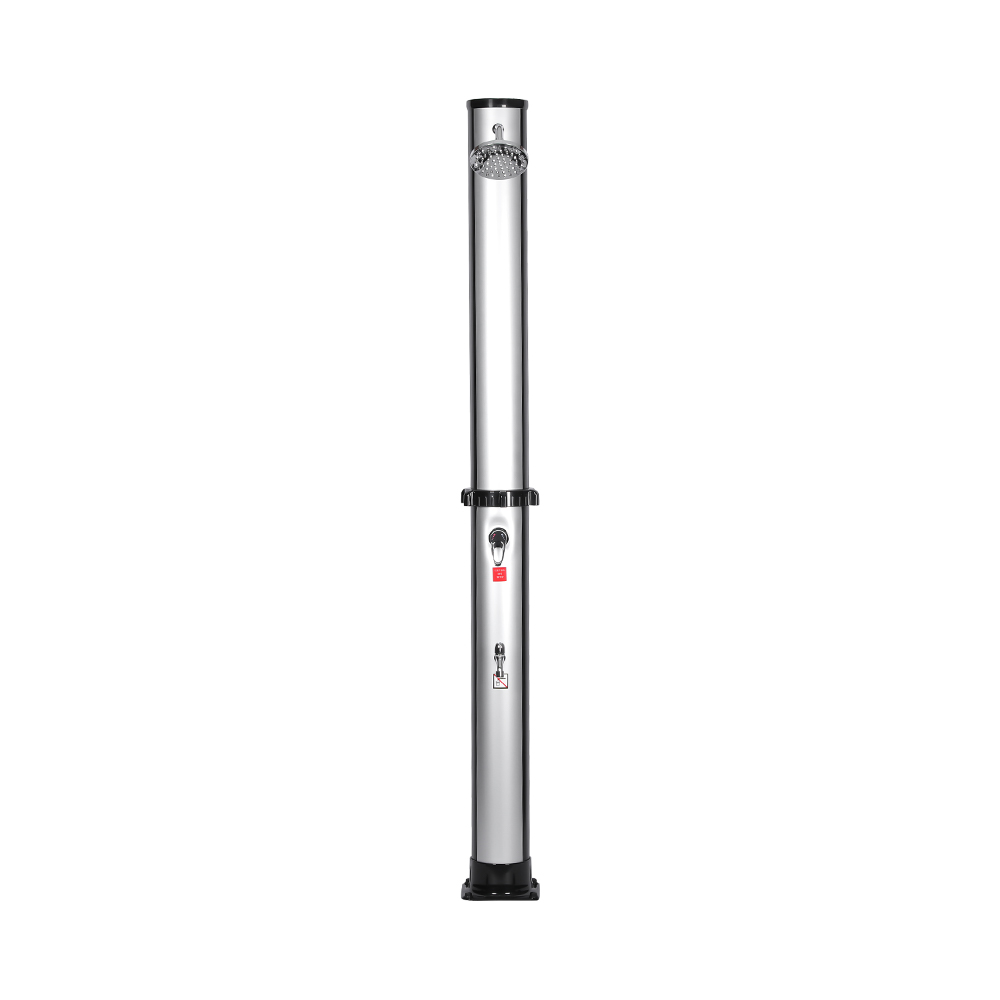
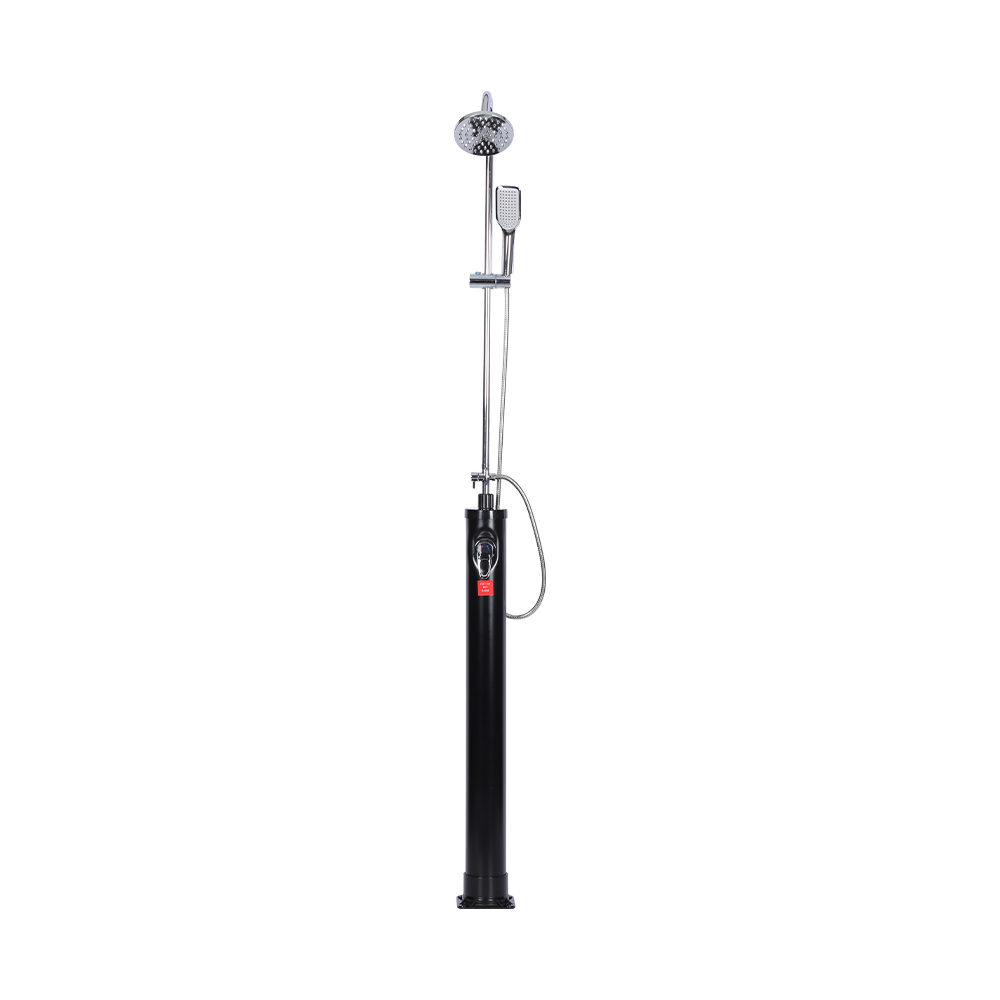
A solar garden shower is a sealed system. The tank, typically 8 to 60 liters, sits above or beside the showerhead. The dark surface absorbs sunlight and transfers heat to the water. The only connection it needs is a standard garden hose fitting — the same thread you already use for a sprinkler.
- Zero pipe work: no trenching, no soldering, no glued joints.
- Lower total cost: a complete unit usually costs far less than pipes, permits, and labor.
- Portable: move the shower between the pool, the garden, and even a cabin or campsite.
- No permit required: because you never touch your home's plumbing, there is normally nothing to inspect.
- Free energy: sunlight does the heating, so you avoid gas and electric hookups.
In our 15 years of manufacturing garden showers, more than 80% of customers say they chose a solar unit specifically because it avoids pipe work. It is the most common reason people buy this type of shower.
If you want to see the range of shapes, capacities, and mounting styles, browse our solar shower collection and compare models side by side.
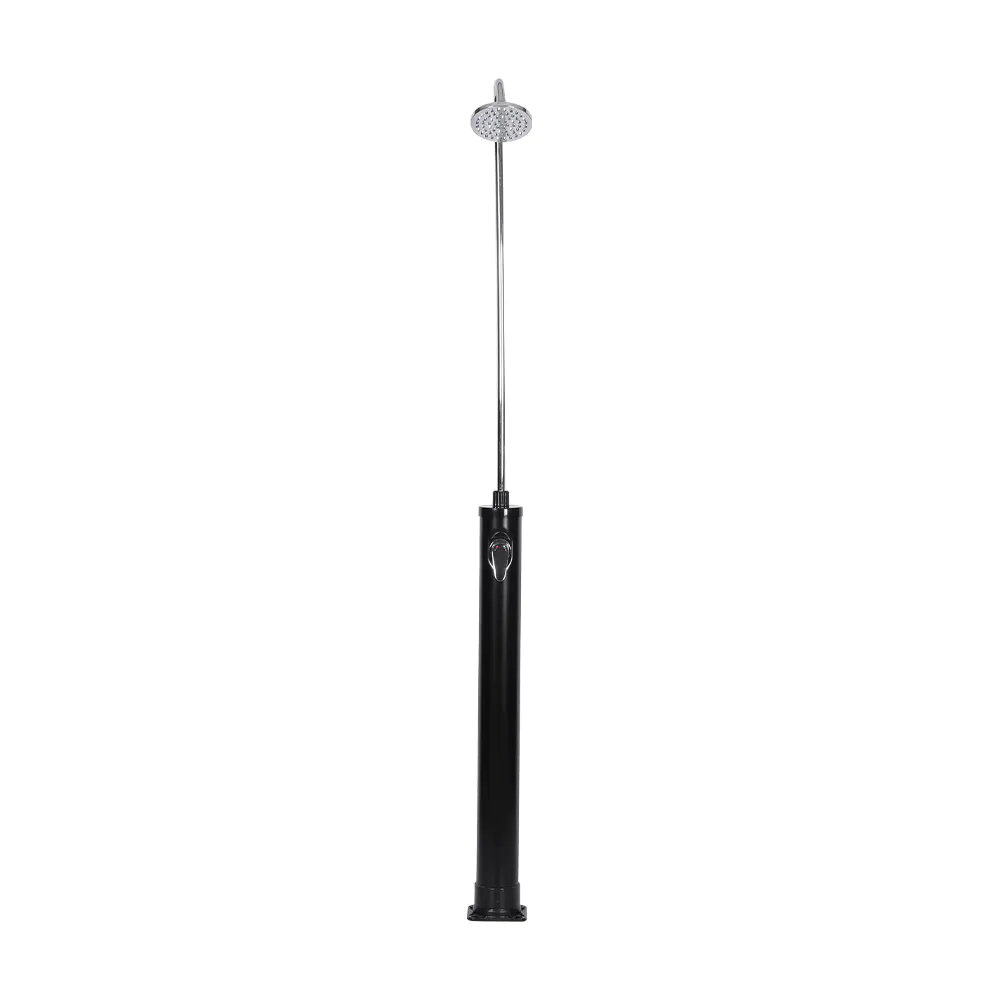 Beach Shower Manufacturers, Swimming Pool Solar Shower SuppliersQuzhou Haihong Electrical Equipment Co.,Ltd. is China Beach Shower Manufacturers and Swimming Pool Solar Shower Suppliers, offer Custom B...View Product →
| Factor | Traditional Hard-Pipe | No-Plumb Solar |
|---|---|---|
| Installation time | One to three days, including digging | 15 to 30 minutes with a garden hose |
| Typical cost | Permits, pipe, fittings, and labor | One product purchase; no extra labor |
| Pipe work | Trenching, tee fittings, soldering | None — hose connects directly |
| Permits | Usually required | Usually not required |
| Hot water | On demand from home supply | Solar heated, roughly 40-60°C (104-140°F) on clear days |
| Year-round use | Possible with winterization | Best in warm months; drain and store |
| Mobility | Fixed in place | Portable |
| Best for | Permanent outdoor bathroom | Poolside rinsing and seasonal garden use |
Step-by-Step: Connecting a Solar Garden Shower (No-Plumb)
If you can connect a garden hose, you can install a solar shower. Every unit we build is designed around this process.
- Choose a location with 6 to 8 hours of direct sun. A spot near the pool gate or garden entrance keeps the shower where you actually use it, and the ground needs to be level.
- Secure the base. Freestanding models use a base plate or ground stake. Set the column, anchor the base, and check it is stable. If you are working with a typical 18L solar shower column with base
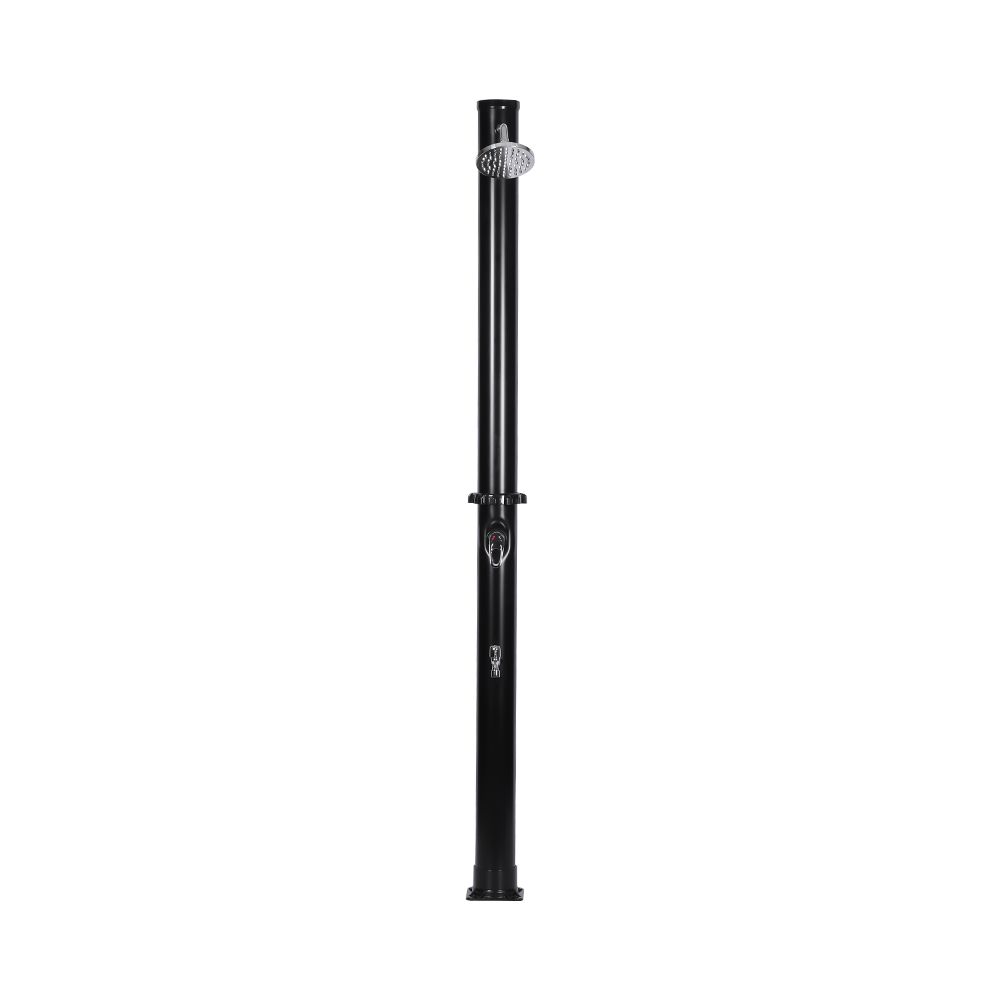 Custom LY18L01 18L Outdoor Garden PVC Solar Shower Column with Base Suppliers, OQuzhou Haihong Electrical Equipment Co.,Ltd. is China LY18L01 18L Outdoor Garden PVC Solar Shower Column with Base Suppliers and OEM Fact...View Product →, the column bolts to the plate and stands without wall support.
 - Connect the garden hose. The inlet uses a standard garden hose thread, so you screw the hose on by hand and snug it with pliers. A wrap of Teflon tape on the male threads prevents drips.
- Open the water valve and fill the tank. You will hear air escape from the showerhead; that is normal. Let the water run until the flow is steady, then close the valve.
- Let the sun do the heating. On a clear day, expect usable warmth in roughly 2 to 4 hours, depending on tank capacity and light conditions.
- Adjust and enjoy. Use the shower valve to control flow, and mix in cooler water from the hose if the tank is running hot at midday.
Winter maintenance is dramatically simpler: drain the tank, disconnect the hose, and move the unit into a shed or garage. No buried pipe, so nothing in the ground to freeze.
What About Hot Water in a Solar Shower?
A solar shower does not need a separate heater because the tank is the heater. The dark surface absorbs solar radiation and transfers it to the water. On a clear day, a well-positioned unit can reach roughly 40-60°C (104-140°F), depending on tank size and sun exposure. The valve and showerhead are matched to the natural gravity pressure from the tank height, so flow feels like a standard outdoor shower.
The real limitation is capacity, not temperature. An 8-liter unit is fine for a quick rinse. An 18-liter unit covers one or two showers. If several people will shower in a row, large-capacity solar shower models from 35 liters up hold a usable temperature much longer. Focus on that category when hot water volume matters.
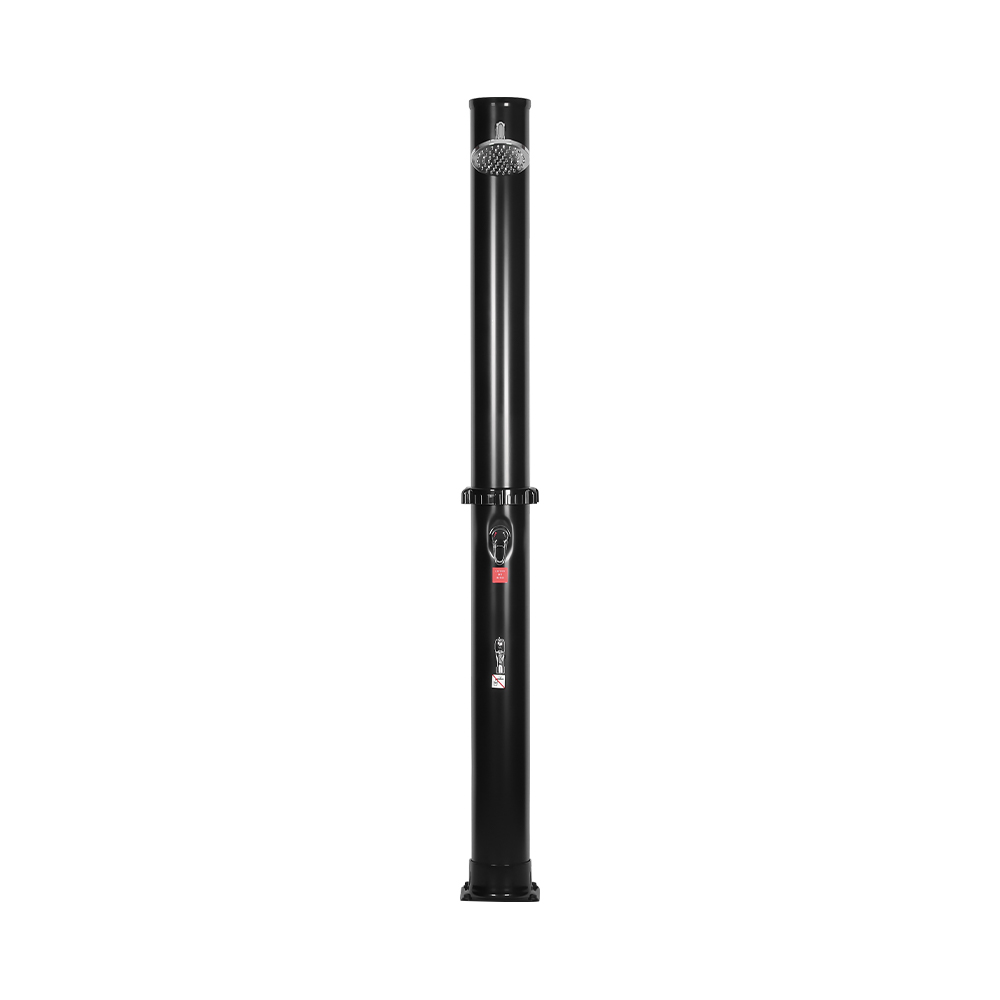 Custom LY35L01 Outdoor Garden Solar Shower with Large Capacity shower pipe SupplQuzhou Haihong Electrical Equipment Co.,Ltd. is China LY35L01 Outdoor Garden Solar Shower with Large Capacity shower pipe Suppliers and O...View Product →
You will notice cooler water in the evening and on overcast days. For rinsing off chlorine, dirt, and sweat, that is rarely a problem. To get the warmest water at the end of the day, fill the tank earlier so it can gather heat before you step under it.
Which Option Should You Choose?
The right choice depends on how you intend to use the shower.
- Choose the traditional route if you want year-round, on-demand hot water, own the home, and are comfortable with a permit, inspection, and a weekend of work or a plumber's bill.
- Choose a no-plumb solar shower if your priorities are low cost, quick setup, and flexibility — for poolside rinsing, summer garden work, or any place where digging is not practical.
- If you rent, plan to move, or want to take the shower to a cabin or campsite, portability settles the debate: no-plumb wins.
For most garden shower scenarios, the no-plumb solar approach delivers the same daily rinse with a fraction of the cost and effort — and zero pipe work.
If the shower sits next to an existing outdoor faucet, that faucet is the entire plumbing system. Screw in the hose, open the valve, and the shower is live.
Final Thoughts: Plumb Smart, Not Hard
So, how do you plumb a garden shower? The smartest answer for most homeowners is that you don't have to. A solar garden shower connects to the hose already sitting in your yard and uses free sunlight to heat the water. For outdoor rinsing, that is not a compromise; it is usually the better fit.
Start with your use case. If you need a permanent, year-round shower with on-demand hot water, the hard-pipe route is a legitimate investment. If you want a poolside rinse or a post-garden wash working before lunch, the no-plumb solar route gets you there faster, cheaper, and without a single pipe fitting.
We build solar showers from 8 to 60 liters, including the 18L and 35L columns that cover most garden and pool setups. Match one to your space and remember: the only connection you will make is the same hose connection you already use every week.


-
How Do You Maintain and Clean Your Solar Shower for Long-Term Use
Empty the Tank After Each Use Maintaining the cleanliness and functionality of your solar shower is ...
-
Comprehensive Guide to Solar Showers: From Portable Bags to Luxury Poolside Units
Introduction to Solar Showers What is a Solar Shower? A solar shower is an innovative and environmen...
-
How to Choose the Perfect 8L Solar Shower for Beach, Pool & Garden Use
Benefits of Using an 8L Solar Shower at the Beach 1. Convenience and Portability for Beachgoers An 8...
-
The Ultimate Guide to 18L Solar Showers: Reviews, Tips, and How-To
Introduction to 18L Solar Showers In recent years, 18L solar showers have become a must-have item fo...
No.27, Fengshan Road, Hangfu Town, Kecheng District, Quzhou City, Zhejiang Province, China
(+86)-17888203192
 Wholesale Outdoor Solar Shower Factory